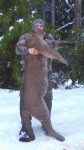
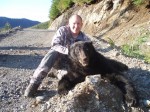
A nice big tom has been on my bucket list for a while and I've been friends with a local houndsman for quite a few years now and we've hunted together for sheep and gone out in search of cats a few … [Read More...] about Vancouver Island Cougar Hunt Dec 2016
BC Hunting Blog Recent Posts
Vancouver Island Cougar Hunt Dec 2016

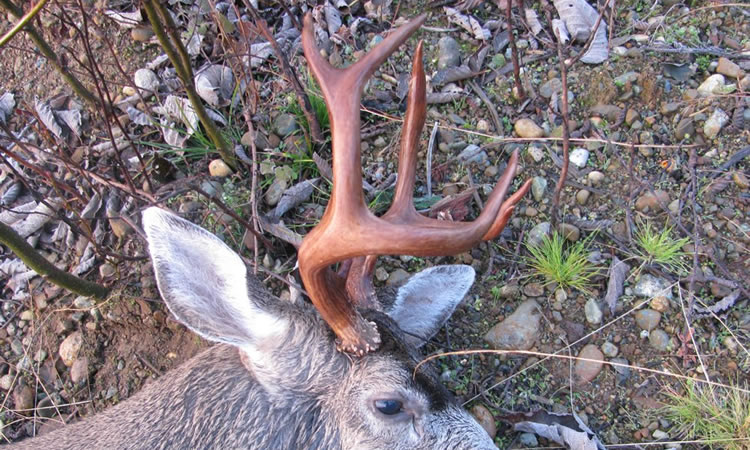
My Sons First Vancouver Island Sitka Blacktail Buck
My oldest son just turned 13 a few months ago and with the start of deer season in close proximity he asked me if he could go deer hunting this year and possibly get his own buck. Great! We headed … [Read More...] about My Sons First Vancouver Island Sitka Blacktail Buck
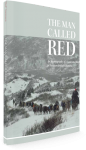
The Man Called Red – Book Review
"The Man Called Red" is an autobiography about my Grandfather, N.B. "Red" Sorensen, written and published by himself. It'd be lying if I didn't say I was a little biased but it's an excellent book … [Read More...] about The Man Called Red – Book Review
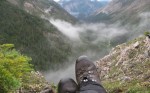
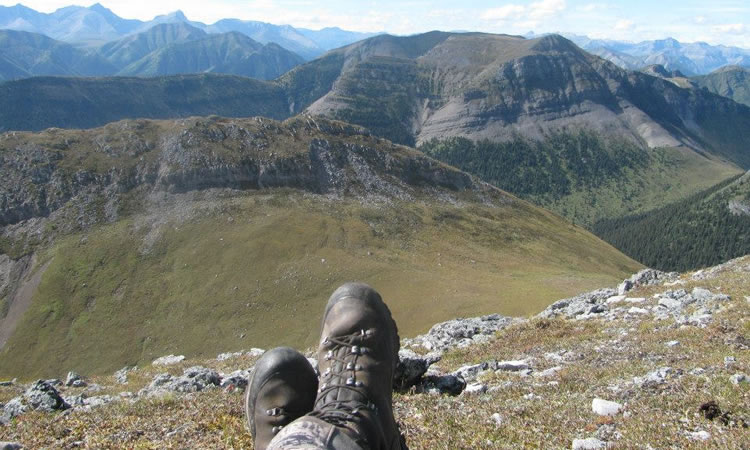
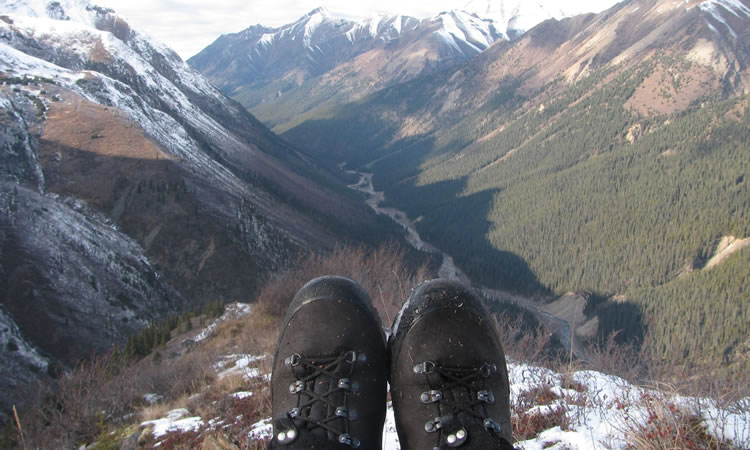
Taking Care Of Your Feet On A Backpack Hunting Trip
** Updated and Revised - July 2016 ** When all you’ve got to get around in the mountains are two-feet-and-a-heartbeat then you’d better make damn sure your feet are up to the challenge. Wet, tired … [Read More...] about Taking Care Of Your Feet On A Backpack Hunting Trip
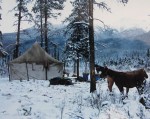
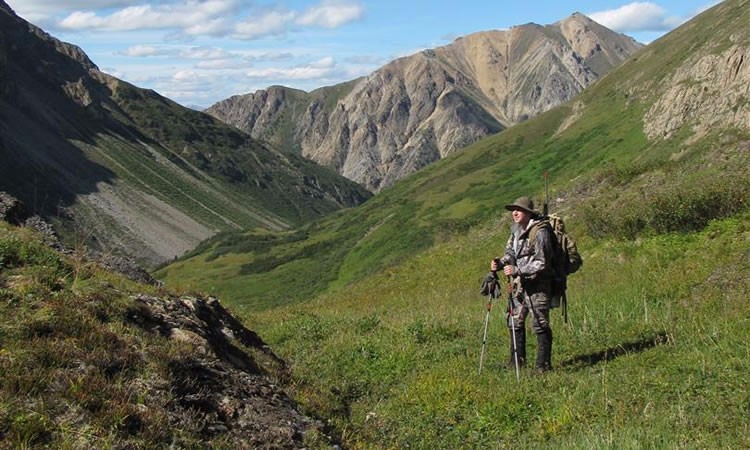
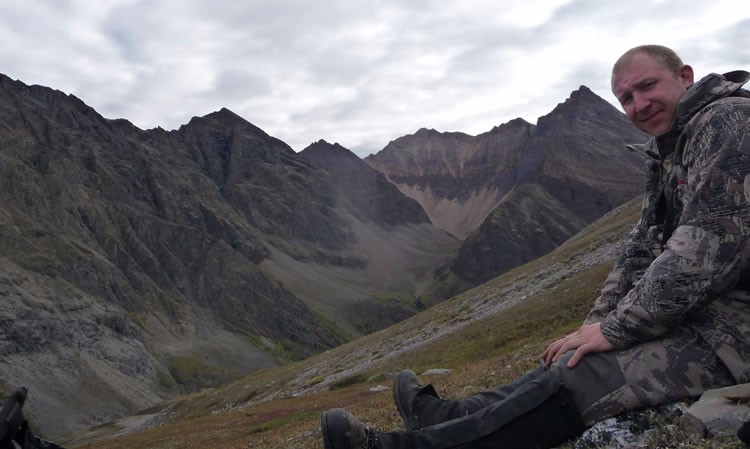
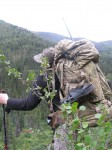
An October Stone’s Sheep Hunt
This is a story written by my Dad. He spent nearly 30 years as a big game guide in Northern BC, hunting primarily sheep. This is a story about the largest ram he ever personally guided for. … [Read More...] about An October Stone’s Sheep Hunt
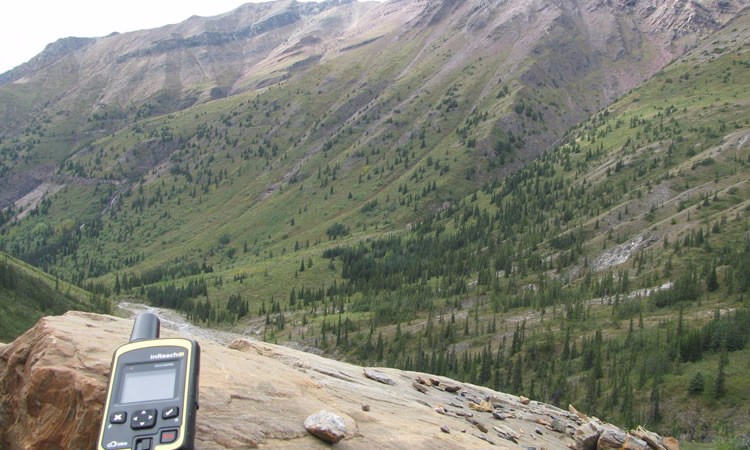
Why I’m Ditching My GPS, SPOT and Satellite Phone on Backpack Hunting Trips
Why I'm Ditching My GPS, SPOT and Satellite Phone on Backpack Hunting Trips Those are some pretty key pieces of safety gear for any back country hunter. All 3 of these items might be a tad … [Read More...] about Why I’m Ditching My GPS, SPOT and Satellite Phone on Backpack Hunting Trips
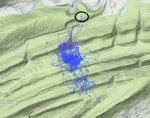
The Life and Times of Buck 8917 – PennState Deer Study
This is an interesting study completed by Duane Diefenbach of PennState University. They collared a young buck and followed him 24/7 until his death. It reveals a lot about deer movement. On … [Read More...] about The Life and Times of Buck 8917 – PennState Deer Study
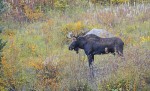
Factors Affecting Moose Populations in Central BC
It's no mystery to hunters that Moose populations in certain areas of the province have declined sharply in the last few years. In some areas declines as much as 50-70% were reported via recent … [Read More...] about Factors Affecting Moose Populations in Central BC
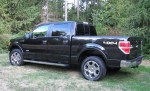
Buying a Used Ford Truck For Your Hunting Trips In BC?
If you want to travel and hunt around BC then a pickup truck or a good SUV is often the ticket to hunt all around the province. A good pickup truck will haul you, your buddies, your trailers, your … [Read More...] about Buying a Used Ford Truck For Your Hunting Trips In BC?
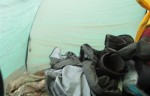
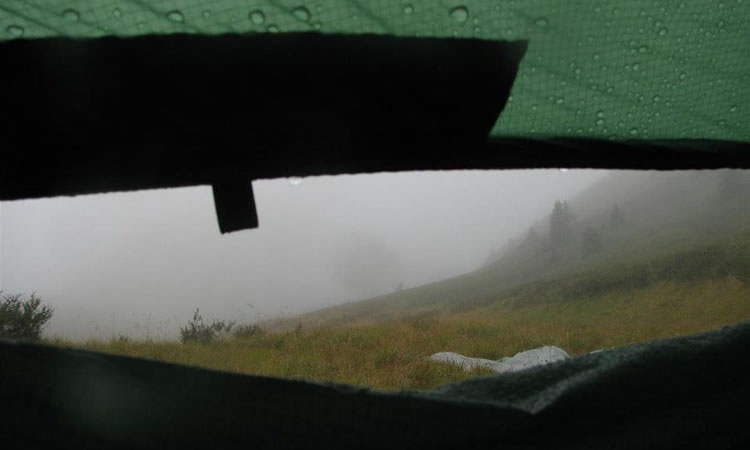
Hilleberg Allak Backpacking Tent Review
A good, no make that GREAT tent should be an essential part of every backpack hunters gear. In the hunting circles I am in most backpack hunters are looking for a tent that can accommodate … [Read More...] about Hilleberg Allak Backpacking Tent Review
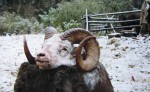
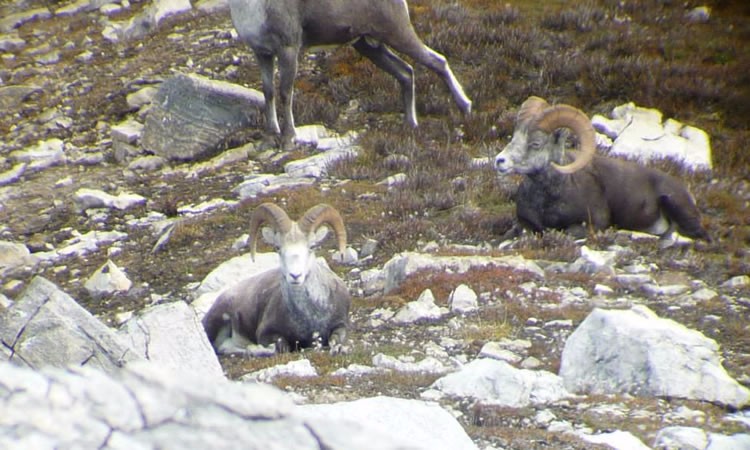
Judging Stone’s Sheep In The Field
There has been a long time debate on the aging of rams in the field by counting the annuli on their horns. This won't be a tutorial on "aging" a thinhorn to the specific year (we'll touch on it) but … [Read More...] about Judging Stone’s Sheep In The Field
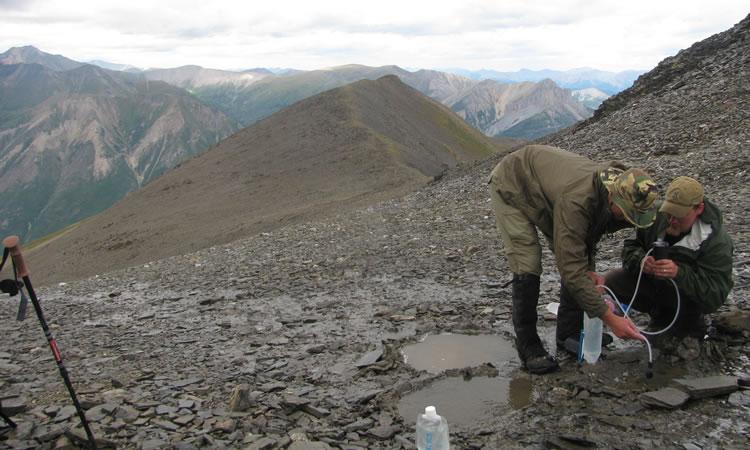
Stone Sheep Hunting Gear List – Updated For 2012
A few years ago I put out the first version of my backpack sheep hunting list, after a few more trips and miles on the trail I've upgraded some gear and refined the list a little more. This list isn't … [Read More...] about Stone Sheep Hunting Gear List – Updated For 2012

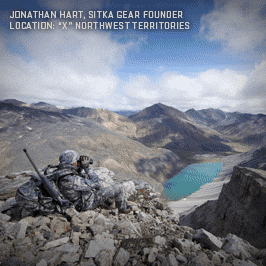
Sitka Gear 2012 Open Country Lineup
Sitka Gear continues to improve their gear offering, especially for mountain hunters and 2012 is no exception. June 1st sees the release of several new items in Sitka's "Open Country" lineup. For … [Read More...] about Sitka Gear 2012 Open Country Lineup
Vancouver Island Spring Black Bear Hunt 2012
It's a relatively short drive of only 2.5 hours along some of Vancouver Islands extensive network of gravel logging roads until we reach the far west coast of the Island and one of our favorite areas … [Read More...] about Vancouver Island Spring Black Bear Hunt 2012